WEEK 2 - METAL BOWL MAKING
INTRODUCTION
This week we were going to use a 200mm x 200mm aluminum sheet that strike it to became a metal bowl. follow this project, we were going to learn how to use the basis way to change the metal shape.
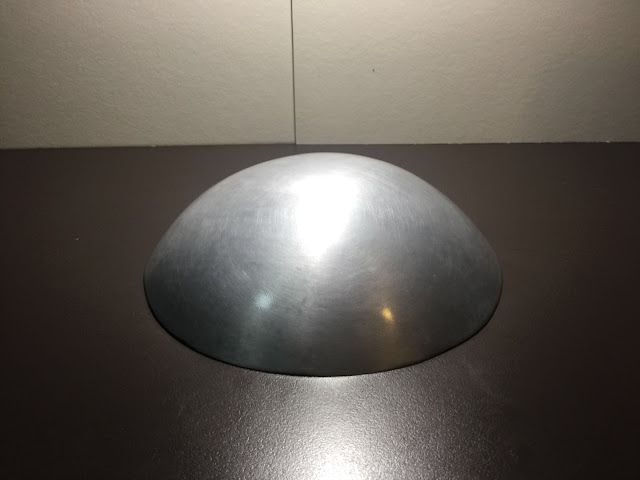
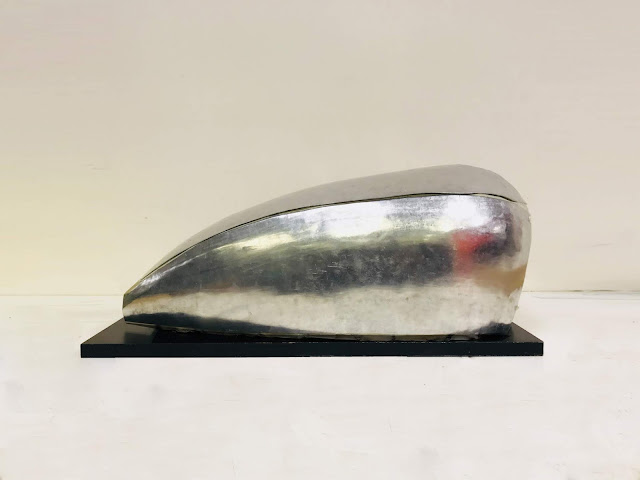
The image shows the final work I have been done in this week.
The image shows the final work I have been done in this week.
Top view
In the following content, I will show all the steps that how to make the aluminum sheet become a bowl.
STEP 1
I am going to use the laser cut machine to cut the bass wood, which going to be the bowl template consisting of a series of concentric rings.
Concentric rings
Then create a "radius gauge" to help guide and evaluate the progress. It will be use later.
Radius gauge
STEP 2
Using the concentric rings to draw the sign on the aluminum sheet, which we can clearly to see the part we need to strike.
Draw the sign the metal
Finishing work
STEP 3
I am going to use the metal cutter follow the sign to cut the aluminum sheet become a circle.
Metal cutter
Cut the aluminum sheet to a circle
Step 4
I am going to use the die base and the metal hammer to strike the aluminum sheet become a bowl, which also is the difficult part in bowl making.
Die base and metal hammer
This image shows how the process will look like
Strike the metal plate become curve
Using the hammer to strike the metal to the concept shape, then by repeated tapping on the sand bag, the shape of the metal plate will gradually turn into a bowl shape. The image shows the finish how the work will look like.
Top view
Bottom view
i am using the radius gauge to check the bowl shape every time that make sure the shape can matching on the radius gauge.
STEP 5
Using the English Wheel make uneven surfaces evener.
English Wheel
The image shows the finishing work
STEP 6
Grind the surface of the bowl with sandpaper to make it smoother.
The final object will be the perfect bowl
Top view
Bottom view


评论
发表评论